

How to insulate your car battery- The Complete Guide: Installing Car Insulation for Winter Camping Vacations
So, first, let’s get an Introduction going camping in the winter can be an exciting experience, but there are drawbacks as well, especially when it comes to keeping warm and cosy inside your car. Maintaining a warm atmosphere and warding off the cold require adequate insulation on chilly evenings. We’ll take you step-by-step through the process of installing automobile insulation for winter camping in this extensive guide, so you can enjoy the great outdoors without compromising comfort.
How To Install Car Insulation/ How To Insulate Your Car For Winter Camping

According to insulation experts, you can follow the following steps to insulate the car and insulate the car’s battery. We hope you may read the post, Best Car Insulate Material, if not then click and read. Let’s see how you can complete this task-
Step 1: Assemble Your Supplies
Assemble all required tools and materials before you start. What you’ll need is as follows:
Insulation for automobiles (like fibreglass or closed-cell foam)
Sticky tape or adhesive spray
scissors or a utility knife Marker or pen; measuring tape; mask and protective gloves (for handling insulating materials)
Step 2: Get Your Car Ready– how to install car insulation
For optimal insulation adhesion, start by giving your car’s interior a thorough cleaning. Clear the areas where you’ll be applying the insulation of any dirt, dust, or grease.
Step 3: Insulation Panel Measurements and Cuts
Measure the length, width, and height of the doors, floor, ceiling, and walls of the interior of your vehicle with a measuring tape. After transferring these measurements to the insulation material, mark the panels that require cutting with a marker. Next, cut the insulating boards, sheets, or panels to the appropriate length using a utility knife or pair of scissors. To guarantee a tight fit and optimal coverage, be exact.
Step 4: Install insulation in the ceiling, floor, and doors
Start by insulating your car’s doors. The insulation panels should be carefully pressed into the interior surfaces of the doors after being backed with adhesive tape or spray applied. Cover all of the surface, including the door panels and any cracks or spaces in between. Proceed to insulate your car’s ceiling and floor. Apply the insulating panels in the same way, being careful to slightly overlap the borders for increased coverage.
Particular attention should be paid to locations and zones like the spaces around windows and doors where heat loss is most likely to happen.
Step 5: Install window and wall insulation
Proceed to insulate your car’s walls and windows once you’ve finished the floor, ceiling, and doors. Insulation panels should be cut to suit the side walls and back window, then tape or adhesive spray should hold them in place.
To further reduce heat loss, think about covering the windows with reflective window coverings or thermal drapes. Velcro strips or suction cups can be used to quickly remove these while not in use.
Step 6: Close Up Any Openings and Cavities– how to insulate your car for winter camping
Look inside your car to check if there are any other openings or crevices where cold air could enter. To fill in these spaces and produce a tighter seal, use more insulation or foam sealant.
Step 7: Analyse Results– How To Install Car Insulation
It’s time to evaluate the insulation’s efficacy when installation is complete. Check how effectively your insulated automobile maintains heat by spending a night inside during a cold snap. In areas where heat loss is still occurring, increase insulation by making any necessary additions or changes. Now your car can become a cozy haven for winter camping excursions with the right insulation, offering warmth and protection from the weather. Even in the coldest climates, you may successfully insulate your car and have pleasant evenings outside by following the instructions provided in this tutorial. So, get ready, get on the road, and confidently enjoy the beauty of winter camping!
In the following passage we will go into the importance of insulating your car batteries, as well as the advantages of using Reflectix for car windows, and detailed steps on how to do both effectively in this extensive article.
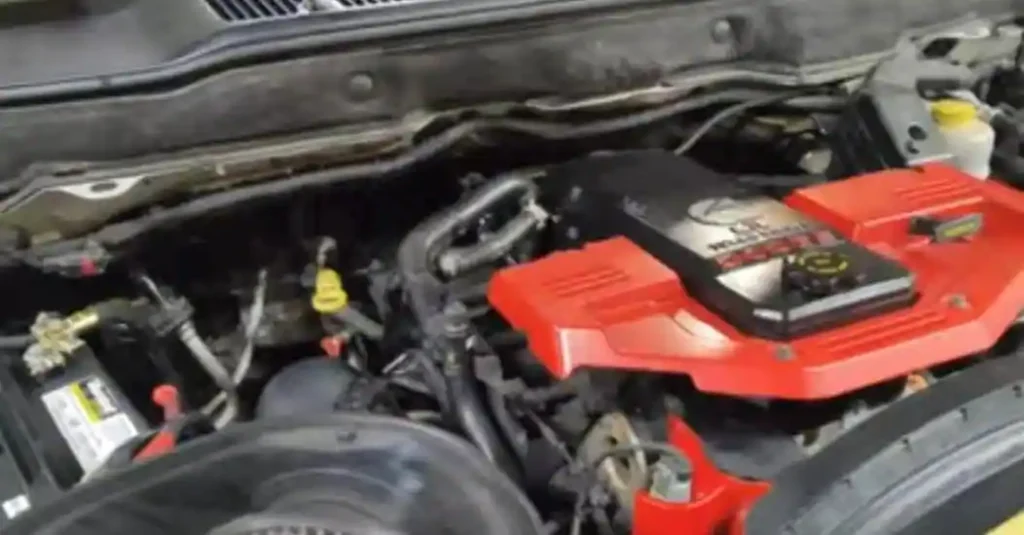
How Come Car Batteries Should Be Insulated?
To start your automobile and run other electrical systems, your car battery is essential. However, extremely high or low temperatures may impact its longevity and functionality. Why it’s crucial to insulate your car battery is as follows:
Temperature Regulation:
By keeping the area around the battery at a constant temperature, insulation helps keep it from becoming too hot or too cold.
Improved Performance:- How To Install Car Insulation
Insulation maintains the battery within its ideal temperature range, which guarantees dependable performance—particularly during cold starts.
Extended Lifespan:
Insulation shields the battery from temperature changes, lowering the possibility of early ageing and increasing its longevity.
How To Cut Reflectix For Car Windows

An Easy Guide to Cutting Reflectix from Car Windows
Reflectix is a flexible and efficient insulating material that is frequently used in cars, RVs, and homes to control temperature. Reflectix can be very helpful for insulating car windows in your automobile, keeping the interior warmer in the winter and colder in the summer. We’ll walk you through the process of cutting Reflectix for car windows in this comprehensive guide so you can drive more comfortably no matter the weather.
Step 1: Assemble Your Supplies
Make sure you have all the materials you’ll need before you start cutting the Reflectix for your car windows:
Roll of insulation with reflective properties
ruler or tape measure
Pen or marker
Utility knife or scissors
Straightedge: a useful tool for cutting straight edges, but not required
These material needed for insulate cut with refletix
Step 2: Measure the Window – How to cut reflectix for car windows
Using a tape measure or ruler, measure the window that needs to be insulated first. To guarantee precise dimensions, measure the window’s height as well as its breadth.
Step 3: Transfer Measurements to Reflectix
Transfer the dimensions onto the Reflectix insulation roll with a marker or pen. To ensure you know where to cut, you should draw the window’s outline right onto the Reflectix.
Step 4: Cut the Reflectix– How to cut reflectix for car windows
It’s time to cut the Reflectix using the marked measurements. For this stage, you can use a utility knife or scissors, depending on the thickness of the Reflectix and your personal inclination. A straightedge can help ensure clean, precise cuts when cutting straight lines.
Step 5: Fit Assessment
After cutting the Reflectix to size, place it against the glass from the inside of the vehicle to ensure a good fit. Ensure that it fits tightly inside the frame and covers the entire window. To ensure a precise fit, trim any extra material if needed.
Step 6: Installing the Reflectix
It’s time to install the Reflectix on the window once the fit is satisfactory. To reflect heat away from the car, the Reflectix’s reflective side should be facing outward. The Reflectix can be fixed in place with adhesive strips or suction cups. Alternatively, you can just push the Reflectix against the window without using any additional fasteners if you’d rather have a temporary fix.
Step 7: Repeat (Optional) for Additional Windows
Follow the instructions above for each window you want to insulate if you’re insulating more than one in your automobile.
In conclusion, cutting reflectix from automobile windows is an easy way to help control the temperature inside your car, which may make driving a lot more enjoyable. You can easily modify and install Reflectix to fit any window in your car by following the instructions in this guide. This will ensure that your ride will be more comfortable no matter the weather. So why hold off? Gather your supplies and begin cutting Reflectix for your automobile windows right now!
How To Insulate Car Battery
How to insulate your car battery- The Complete Guide: Installing Car Insulation for Winter Camping Vacations
The battery in your automobile is an essential part that powers all of the electrical systems in your car, from lighting and accessories to engine starting. But high or low temperatures can seriously affect how well it works and how long it lasts. By assuring dependable performance and extending its lifespan, insulating your automobile battery can help lessen these consequences. We’ll discuss the benefits of insulating your car battery in this tutorial, along with detailed instructions on how to do it safely.
Materials Needed:– How to insulate car battery
assemble the following supplies before you start insulating your vehicle’s battery:
Material for insulation (such as rubber matting or foam insulation)
Adhesive, if required
Utility knife or scissors
Measurement tape
gloves and goggles for protection
Methodical Guide:
To properly insulate your car battery, follow these steps:
Take these safety precautions:
make sure your car is parked level and that the engine is off. To avoid coming into contact with battery acid and other dangerous substances, put on safety gloves and goggles.
Measure Battery Dimensions:
To find the length, width, and height of your car battery, use a tape measure. This will assist you in cutting the insulation to the appropriate size.
Cut Insulating Material:
Cut the insulating material to the exact size of your battery using scissors or a utility knife. Don’t forget to leave some extra material for the sides.
Wrap Battery:– How To Insulate Car Battery
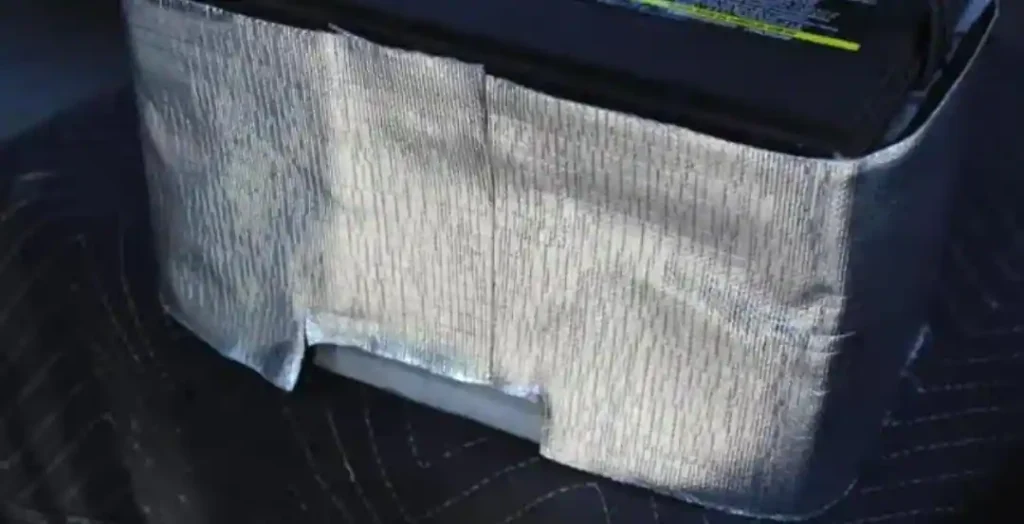
Ensure the insulating material completely encircles the battery by wrapping it around carefully. If adhesive is required, use it to hold the insulation in place.
Cover Terminals (Optional):
To prevent unintentional contact and short circuits, you may want to think about covering the exposed battery terminals with insulating caps or terminal covers.
Insulation should be properly fastened in place using tape or extra glue. Verify that there are no cracks or loose ends that could allow heat or cold to enter.
Put the battery back in:– How To Insulate Car Battery
Reinstall the batteries in your car by following the manufacturer’s directions after the insulation is firmly in place. Make sure all connections are correct, then firmly tighten terminal clamps.
After insulating your automobile battery, keep an eye on how well it performs in various weather scenarios. Take note of any increases in battery life or startup performance.
In conclusion, insulating your car battery is an easy yet powerful method to enhance its efficiency and shield it from the damaging effects of high temperatures. You can make sure your battery lasts a long time and is dependable by following the instructions in this tutorial, giving you power when you need it most. Always put safety first, and refer to your car’s handbook for detailed instructions. You may rest easy knowing your automobile battery is well-defended from the weather if you install the right insulation.
Bottom Line, How To Cut Reflectix For Car Windows and How To Insulate Your Car Battery
To maximise your automobile’s performance and guarantee comfort in inclement weather, you should insulate your car batteries and use Reflectix on your windows. Appropriate insulation and window coverings may make a big impact, whether you’re getting ready for summer heat or winter cold. You can easily modify and install Reflectix to fit any window in your car by following the instructions in this guide. This will ensure that your ride will be more comfortable no matter the weather. So why hold off? Gather your supplies and begin cutting Reflectix for your automobile windows right now!
Do let us know how you feel about this information by commenting.
Like our Facebook page and follow for other updates like this.